KAURI CLIFFS golf CLUB139 Tepene Tablelands Road
RD 2 Matauri Bay Phone:9 407 0060 Email:[email protected] Website:www.kauricliffs.com |
MEN BLUE
MEN WHITE
WOMAN red
course layout
FRONT 9
HOLE 1 (PAR 4)
|
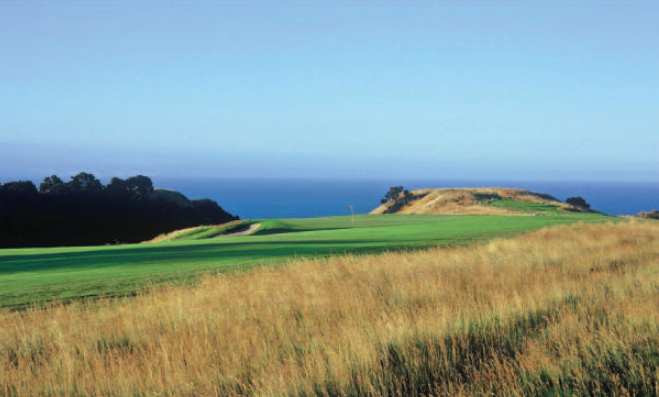
A difficult opening hole is a prelude of things to come. The right half of the fairway offers a better angle into the green, but don’t try to cut the corner of the dogleg where a deep gully lies in wait. Short hitters must beware the gully on their second shots, but once over it, there is plenty of room to the right of the flag.
|
HOLE 2 (PAR 5)
|
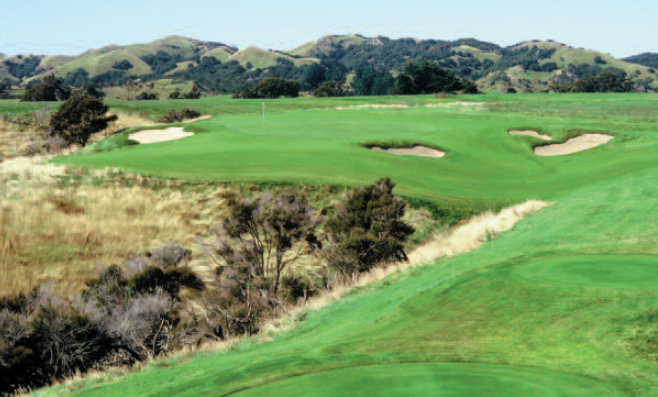
You must avoid two sets of fairway bunkers here, or you won’t reach this green in regulation. Play the drive safely to the left, and lay up short of the cross bunkers if you’re not sure you can carry them with
your second shot. The green is open on the left, but it tilts sharply to the right so it’s difficult to get down in two from the left edge. |
HOLE 3 (PAR 3)
hole 4 (PAR 5)
|
A solid tee shot just inside the fairway bunker sets you up for a big decision with the second. The safe play is to lay up just short of the deep fairway bunker, but better players will be tempted to aim out
to the left of the green and fade the ball home. The green has a high tier in the back; if the flag is back there, play your approach long and left to give yourself the easiest two-putt. |
hole 5 (par 4)
hole 6 (par 3)
hole 7 (par 4)
hole 8 (par 3)
hole 9 (par 4)
BACK 9
HOLE 10 (par 4)
|
Another critical tee shot, which should favor the right half of the fairway. The second shot sets up for a running approach that will feed to the hole from right to left, but you have to get the weight just right, as bunkers lurk short left and over the back. Be sure to take any clubs needed for the 10th green, plus clubs for the tee shot on the 11th, as carts are not allowed back to the 11th tee.
|
HOLE 11 (par 3)
Hole 12 (par 4)
|
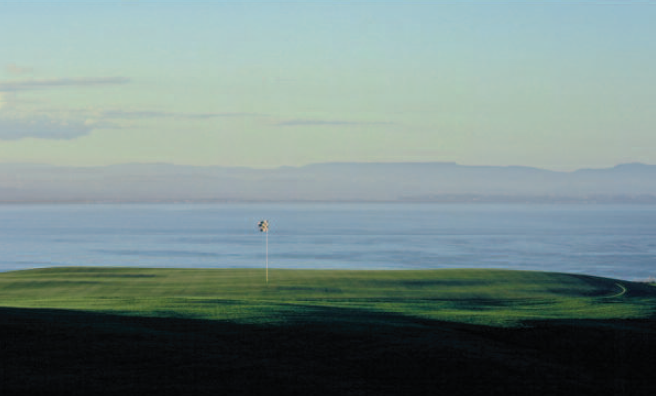
This is the most wide-open driving hole on the course, and a great place to let it rip, because you want the shortest second shot you can get. The green is set at the end of a narrow ridge, profiled against Hawke’s Bay. Play for the front right quadrant to keep the left side out of play. Be sure to take any clubs needed for the 12th green, plus clubs for the short tee shot on the 13th, as carts are not allowed back to the 13th tee.
|
HOLE 13 (par 3)
HOLE 14 (par 4)
|
The shortest par four on the course is quite possibly the hardest of them all. Pick a safe line off the tee and then aim 10 yards left of it, because any hint of a fade will not carry to the fairway. The green is dominated by a deep pot bunker at the left front and a steep drop at the back, so the safest play is to the far left. Be especially careful around this green, as the pot bunker has a gravitational pull far greater than its size.
|
HOLE 15 (par 5)
hole 16 (par 5)
hole 17 (par 4)
|
No laying back here; you’ll need to hit your two best shots to get home in regulation on this uphill par four. Those uncertain of carrying the greenside bunkers can play safely to the right; if you drive in the rough, it might be better to play straight ahead on the second and then pitch your third over the bunkers.
|
hole 18 (par 4)
|
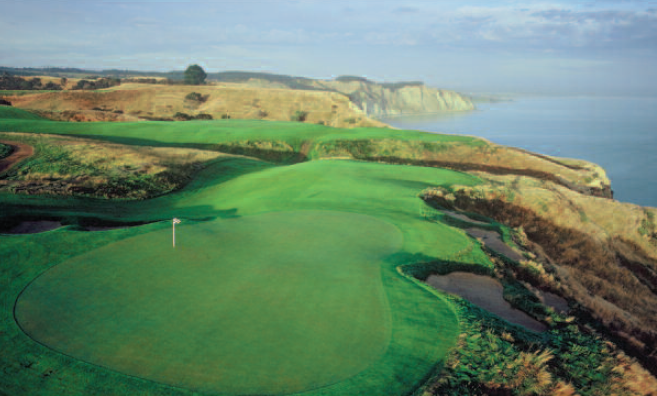
A counter-intuitive finishing hole, with its green offset to the right of the fairway. The punchbowl green setting will lure many players into aiming left for safety and hoping for a lucky bounce down onto the green, but the player who drives far enough to attack straight toward the flag has a clear advantage. Be careful on this green, as putts from behind the hole can easily get away from you.
|


